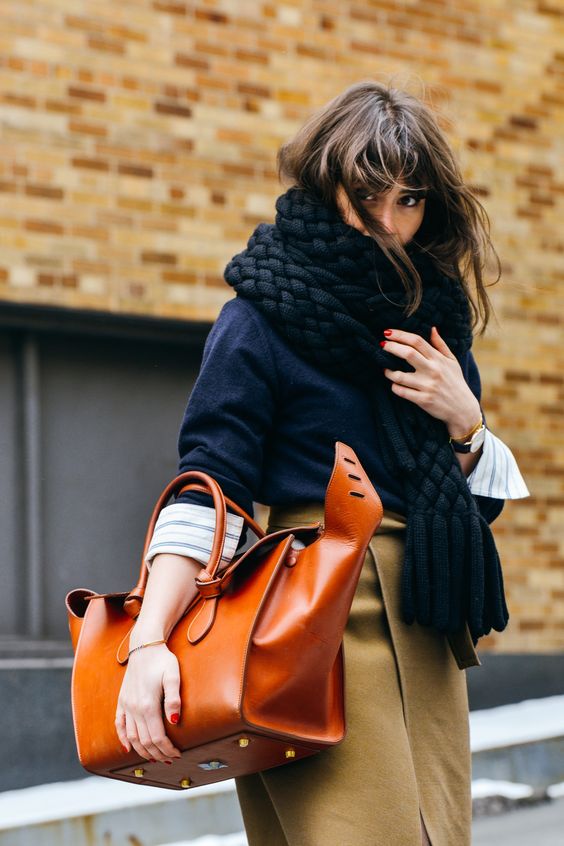


Minimalist Packing Guide: 3 Days In Maine, 1 Carry-On
As I mentioned on Monday, Jason and I are headed up north to Maine tonight for a quick trip to see family (we come back Saturday afternoon). To say I'm excited for some last minute leaf peeping is an understatement and I'm packing up my favorite fall pieces to make the most of it.
Below, I've outlined the pieces I'm bringing to keep me super cozy and comfortable and I can't wait to share outfits pics once I get back. Anything marked with an asterisk* will make up my travel outfit, and I've linked the items shown (or some similar) in case you're interested.

Tops
White Silk Shirt*
Plaid Shirt
Navy Tee
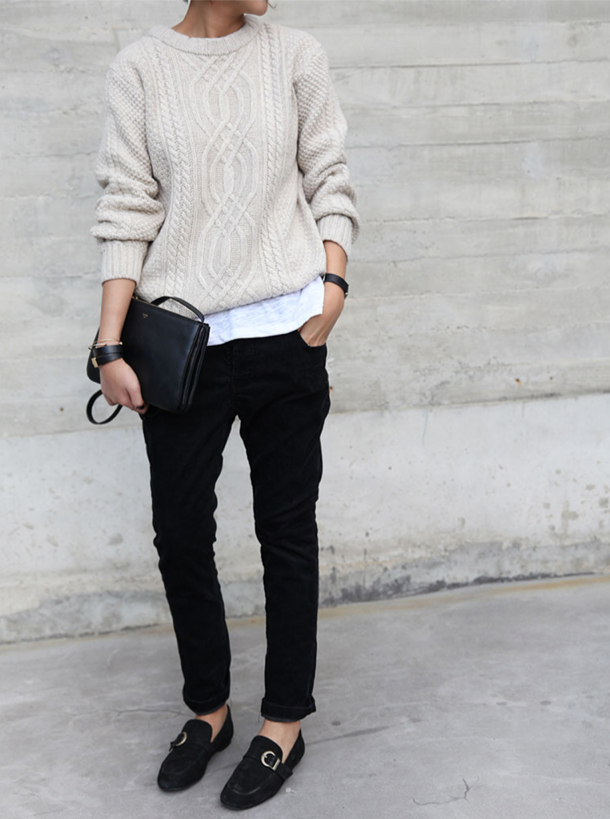
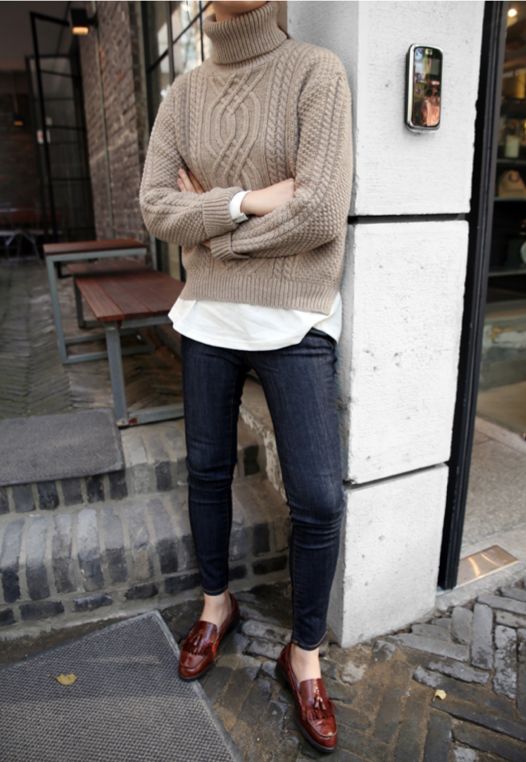
Sweaters
Black Cashmere Crewneck
Fisherman Sweater
Jeans
Medium Wash Jeans
Dark Wash Skinny Jeans
Blazers
Grey Herringbone Blazer
Green Herringbone Blazer
Navy Blazer*
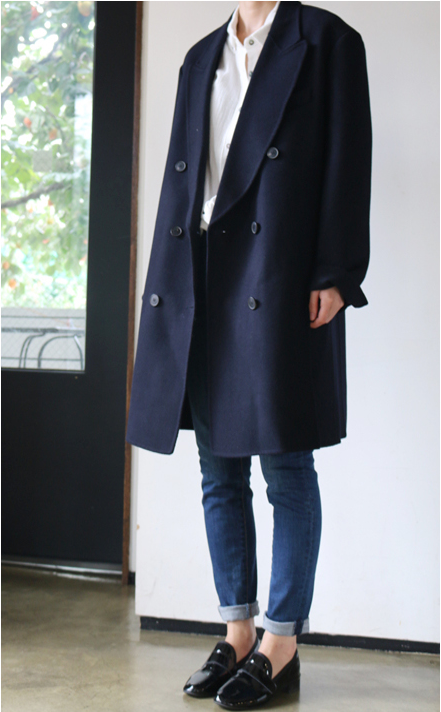
Outerwear
Barbour
Shoes
Chelsea Boots*
Riding Boots
Accessories & Purses
Fall Themed Silk Scarf
Green Print Silk Scarf
Red Shawl*
Classic Belt*
Thin Statement Belt
Clutch
Crossbody Purse*
Simple, Everyday Jewelry*
Fedora
I also filmed a corresponding packing video that you can view here or below.
Before I go, I'd love to know if you're headed anywhere fun this fall? Have you gotten a chance to enjoy the foliage? Let me know in the comments below and follow along with me on Instagram.
Until next time,
Audrey
Quality Over Quantity & Building Your Perfect Wardrobe Slowly
Recently, I was thinking about my quest for quality over quantity and what that means to me. While I mentally scanned my closet and it's contents, I started to reflect on the journey that led me to each piece. The trial and error, the hits and the misses and most importantly, the prices I paid for each.
While there's no denying that my closet is a mix of high and low, arriving at this careful balance certainly did not happen over night. In fact, the majority of my closet took years to acquire, and my more special, treasured pieces are the result of extensive planning and saving to afford.
With this journey in mind, today's post is about the delicate balance between building a versatile wardrobe of quality over quantity and working with a realistic budget.

When you've made the choice to streamline your wardrobe, the urge to purge can be overwhelming. The hours of research and planning that lead to this decision have no doubt sparked a burning desire to finally achieve your dream closet and you're feeling totally pumped.
Unfortunately, this research may have also left you feeling a little worse for wear and like the pieces you already own just won't cut it. Rather than feel defeated before you start, I recommend that you take a step back and approach your journey to closet bliss as a marathon rather than a sprint.
With a whole lotta planning and a little bit of patience, you can achieve your dream wardrobe no matter what your budget is. To help you do this, I have put together five simple steps that helped me do just this. So, grab a notebook and pen and let's get started.
MAKE A PLAN

The first step to any successful closet revamp is planning.
Rather than jump right into a major closet clean-out blindly, I recommend you always start with a strategy to keep you on track.
Working with a plan will not only help you succeed, but will also help prevent you from quitting before you start because you feel overwhelmed.
Once you've tackled your wardrobe using the steps I shared here, you will have a clear understanding of the pieces you already have, what you need to complete what you have, and the items you would love to have but can't quite afford yet. This brings us to my second tip.
SET A BUDGET
Now that you've established your musts and lusts, you should nail down your budget.
The most important part in this step is to be honest with yourself. With all the daily expenses that life brings it's important to never go into debt for the sake of your wardrobe.
Even though you may want a complete closet over-haul of nothing but the best, it's more important to work with what you have and build your closet slowly. The last thing you want is to rid yourself of closet stress only to replace it with financial stress.
Instead, be honest with your spending limits and maybe even cut back in other areas to save up for a few key pieces. For example, if you get coffee to go every morning maybe you could start brewing your own. Who knows, over the course of a few months you may have saved enough to buy your dream bag - without a penny of debt.
BARGAIN SHOP

Would you believe it if I told you that I paid only $100 for my beloved Gucci loafers? That's right, I paid hundreds less than traditional retail for a brand new, in-the-box pair of Gucci horsebit loafers!
How I did it, brings me to my third tip for curating your dream wardrobe - bargain shop.
From eBay to The Real Real, bargain shopping has never been easier thanks to an endless supply of online retailers. These sources for brand new to gently used designer goods make it possible to own your forever shoes, handbag or coat at a fraction of the price with some careful research and patience.
After setting my budgets each season and year, I allocate a portion to one or two designer pieces that I would LOVE to have. Then, if one or more of those pieces way exceeds my budget I scour discount online retailers. By saving searches outlining the size, color and price for what I'm looking for, I'm able to stay up-to-date on new additions and make some seriously amazing purchases at a fraction of their original price. I'm going to do another post in more detail on this soon, so I'll end it here for now.
STAY FOCUSED

My fourth tip in this process is to stay focused.
With the endless supply of PIN-spiration, fashion blogging and retailer emails, it can be so tempting to forget about your plan and budget and buy whatever's being pushed your way.
I would encourage you to resist this urge with all your might and keep your eye on the prize.
To help myself practice what I preach, I like to keep a list (with pictures) on my phone or a private Pinterest board of what I have my sights on. That way, when I'm feeling tempted I can go back to this list and remind myself of what I really want. This has saved me from making so many impulse buys over the years and I can't recommend it enough.
BE GRATEFUL
My last tip for achieving the closet of your dreams, is to be grateful. As I mentioned above, it took me years to acquire most of the forever pieces in my wardrobe.
That said though, it didn't take me years to be satisfied with my closet, and really enjoy getting dressed each day.
Throughout this journey I have always tried to be grateful for what I do have rather than regretful for what I don't.
Instead of feeling unsatisfied with what I have and comparing myself to others, I have made a conscious decision to feel lucky for what I do have. Each day that I'm lucky enough to be healthy and happy is a good day in my book, so a great pair of jeans is just frosting on the cake.
What's even better, is the moment I made this switch in my thinking is the moment I started to look at my closet in a whole new light - and so can you!
After all, when you're feeling grateful for having clothes in the first place, feeling like you're missing out on the latest must-have just seems silly.

What steps are you taking to achieve the closet of your dreams? Do you bargain shop? I'd love to know your tips and tricks in the comments down below!
Until next time,
Audrey
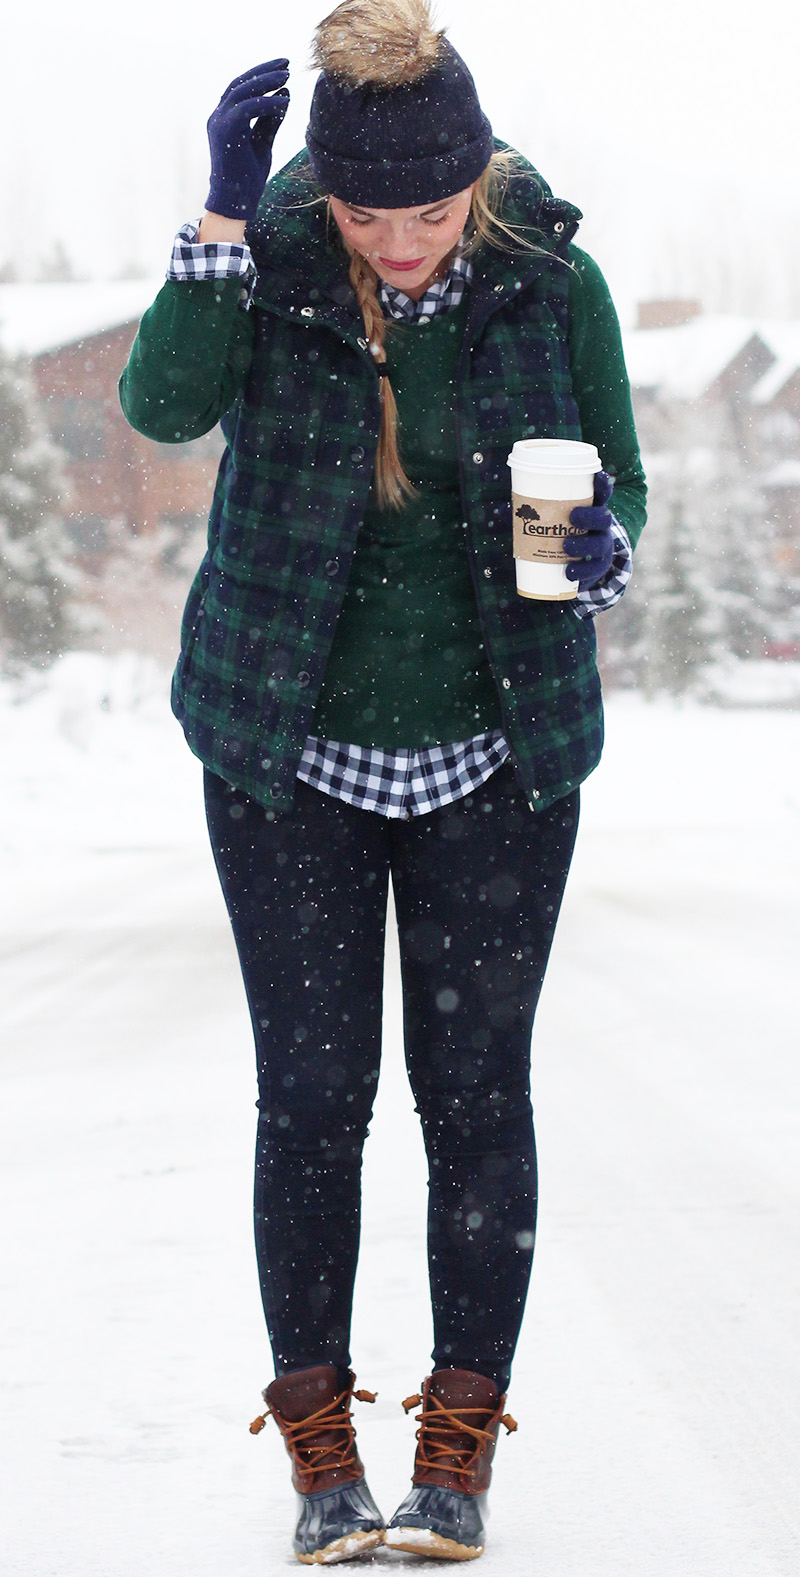
Layering 101: How To Stretch Your Basics Further This Fall
When it comes to making the most of a minimized wardrobe there is no denying that timeless classics are essential! What is often times less obvious, is the power of layering to extend those pieces throughout the entire year. So, with fall in full swing, now is the perfect time to refresh your layering skills and stretch your wardrobe even further.
Below, I have shared a quick snap shot of how I like to layer my clothes along with a more detailed outline for you to follow. I've also linked some great layered looks I have collected on Pinterest to help inspire you.
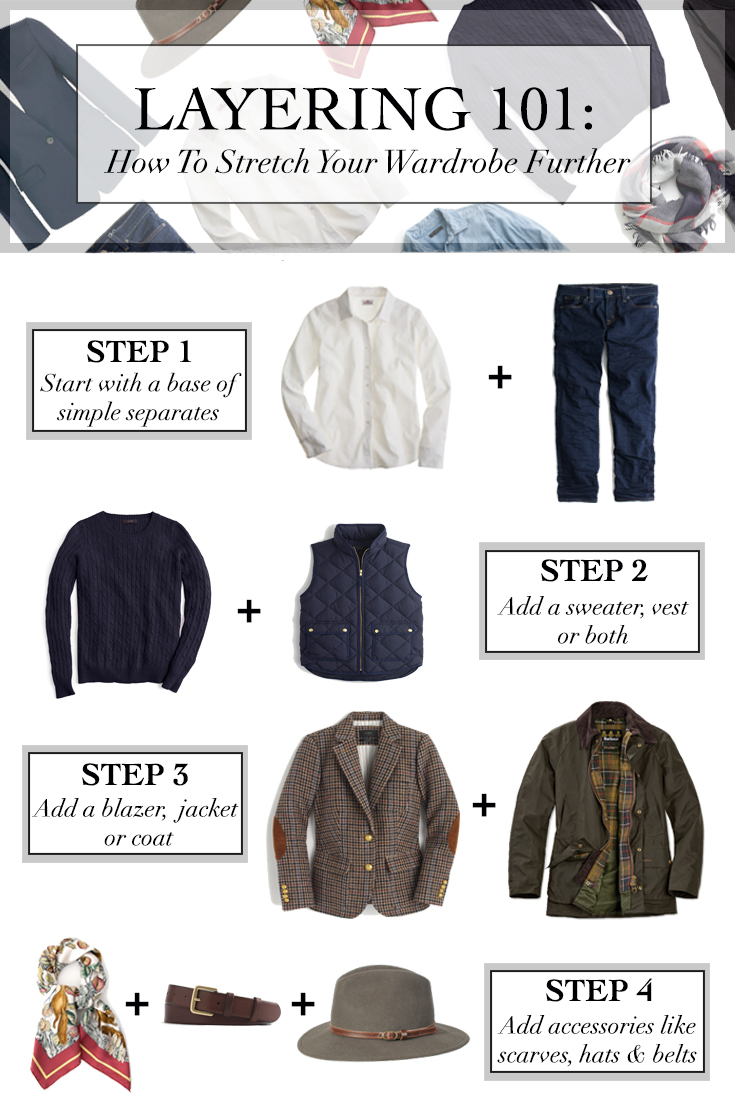
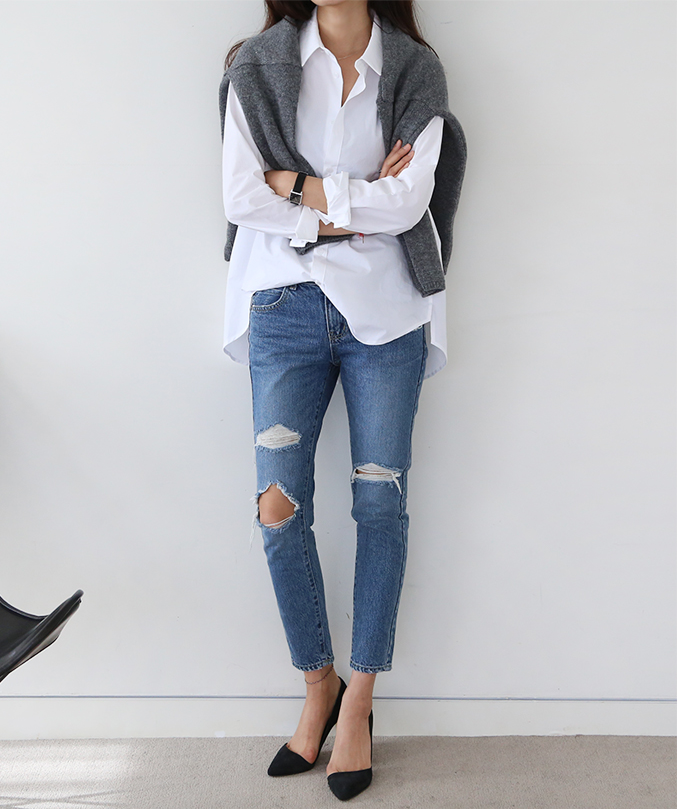
STEP 1: Start With A Simple Base
The first step of any great layered look, is to start with a simple base of classic separates. During the fall I like to start with a white shirt and jeans, but you can just as easily begin with a basic black dress, skirt and simple shirt, tee and trousers and so much more. The possibilities here are endless, just try to keep the base layers on the thinner side so you don't risk feeling too bulky as you add more.
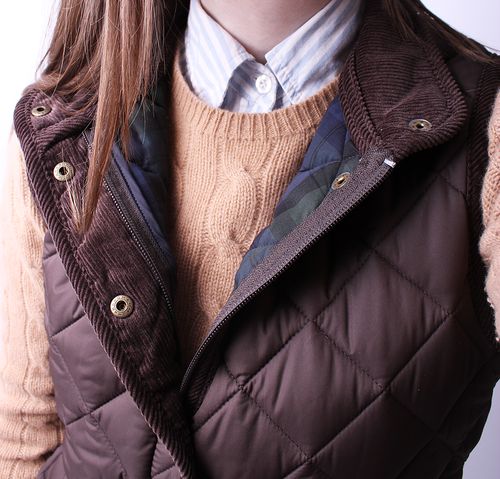
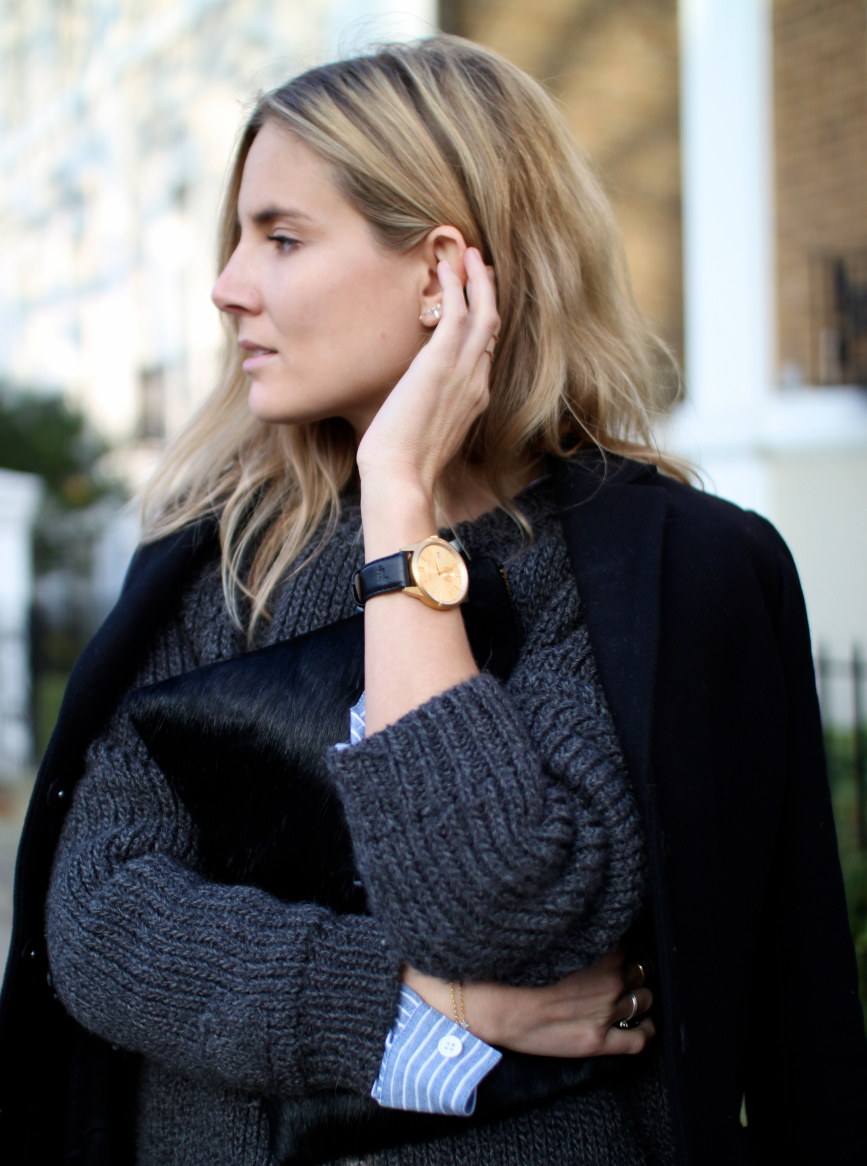
STEP 2: Add a Sweater, Vest or Both
The next step is to add a second layer of medium weight. This can be a sweater or vest or even both depending on how cool it is outside. The only thing to keep in mind here is that if you're wearing a thicker sweater like cable knit, it might work better to forgo the vest so the look doesn't become too bulky.
That said, if your sweater is on the thicker side and the weather isn't too cool, it can be nice to add a vest topper and forgo a coat.
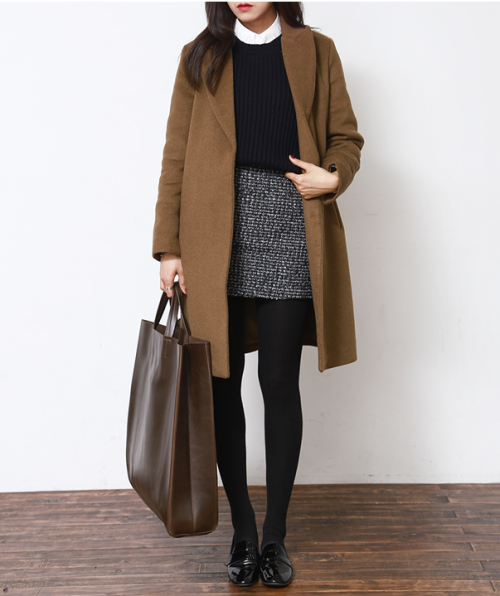
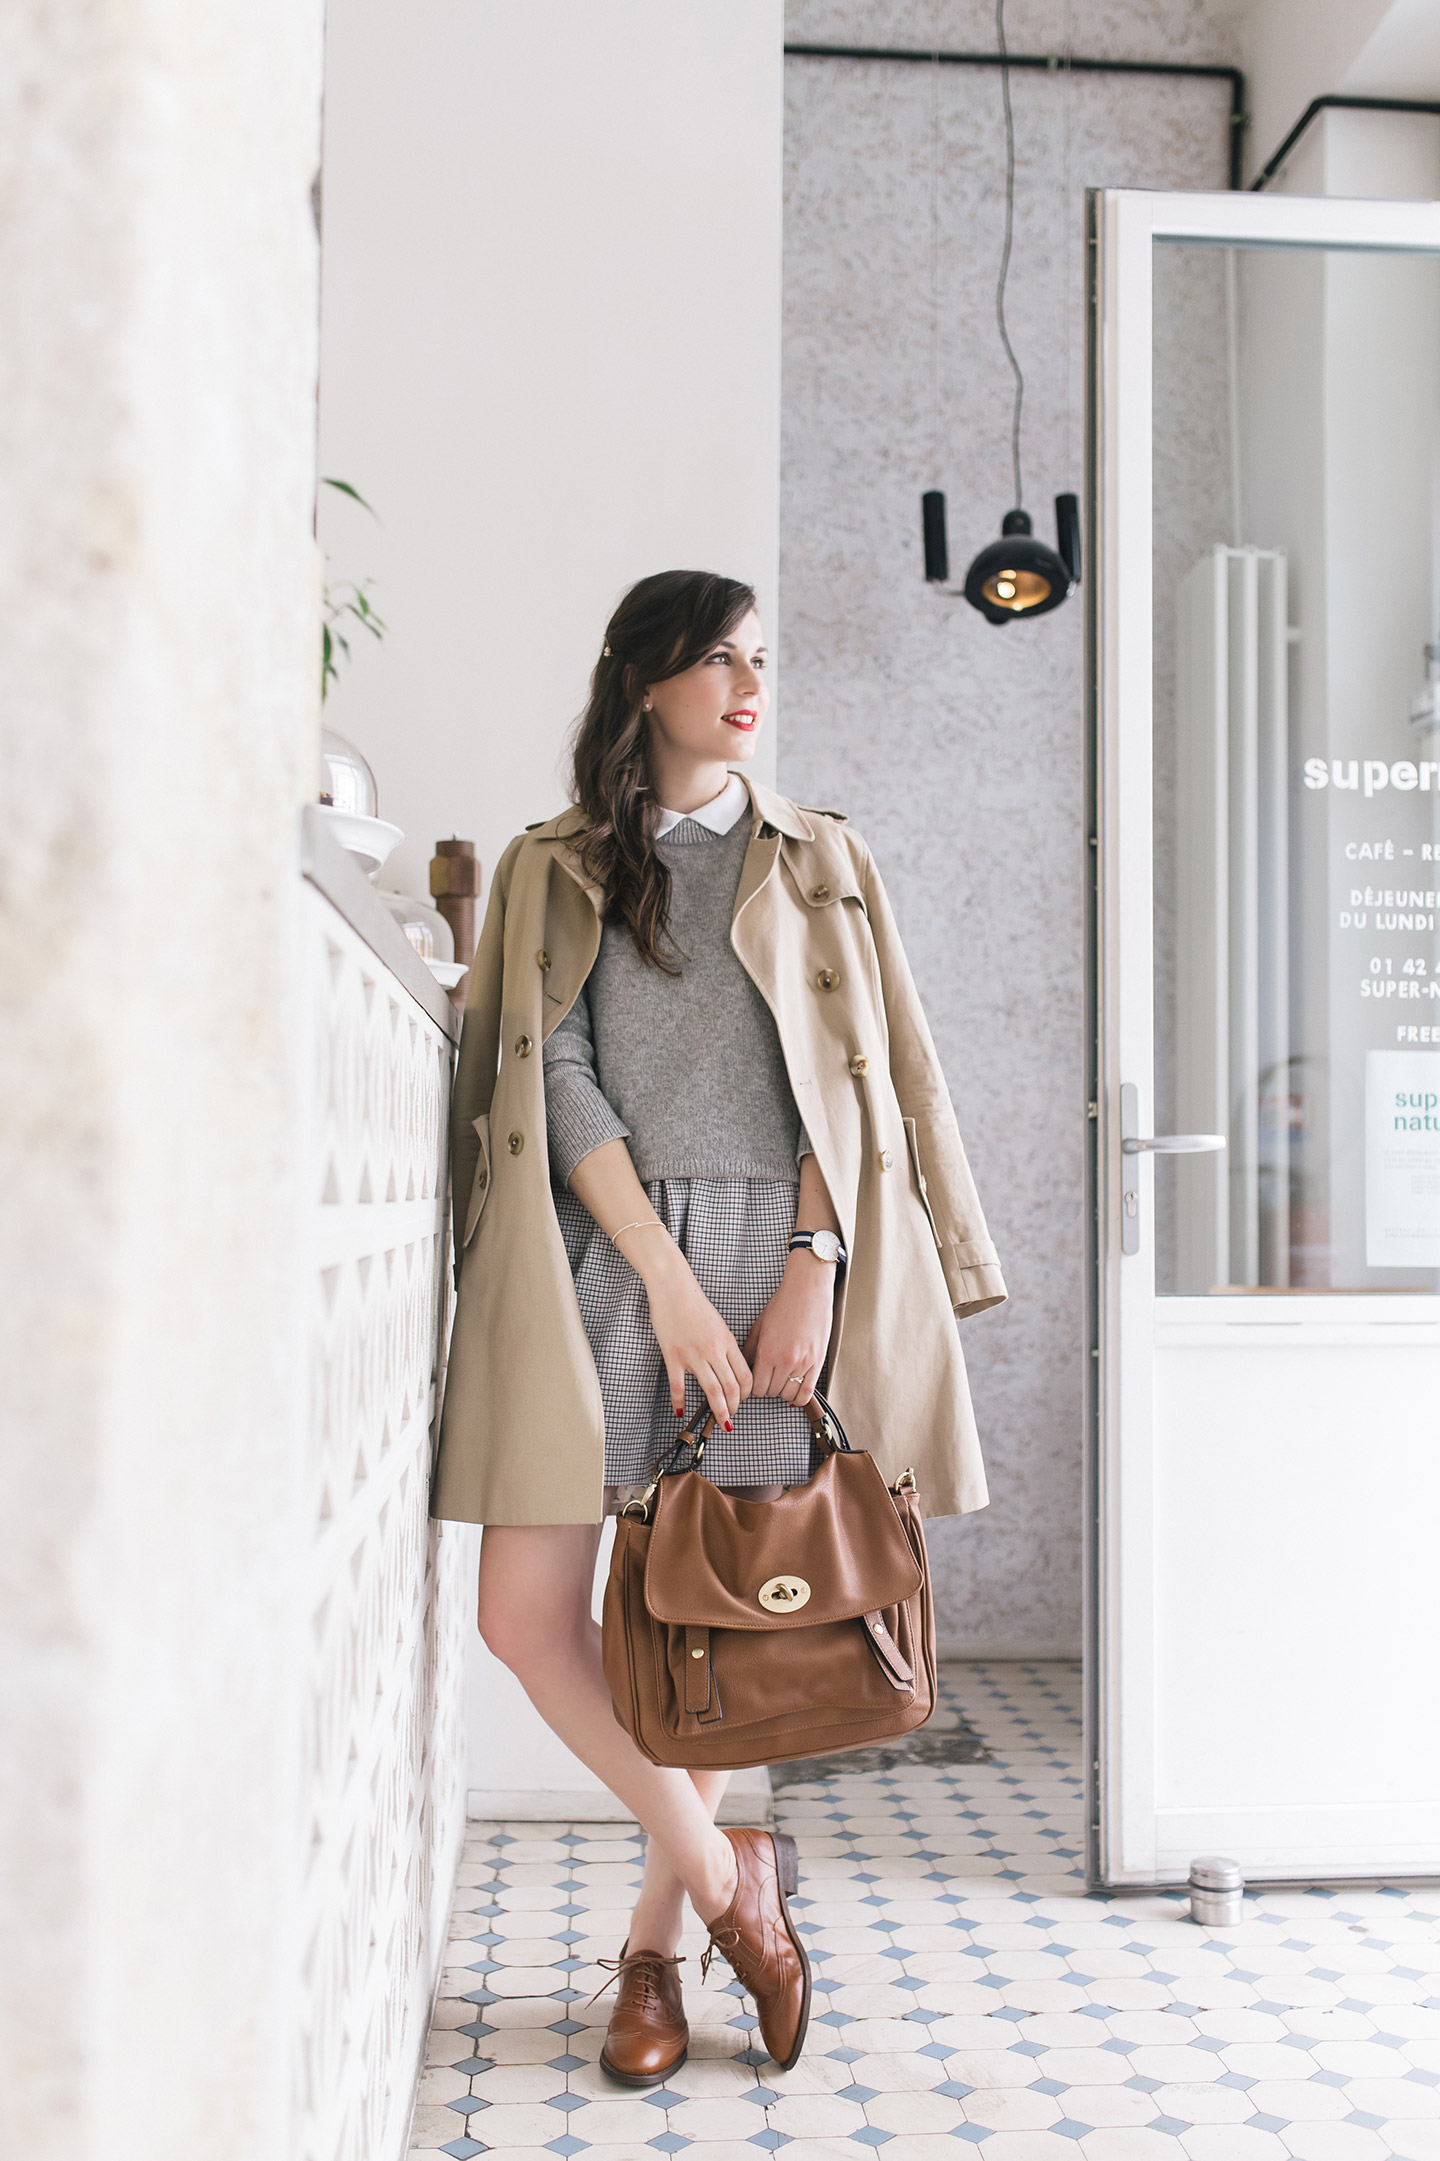
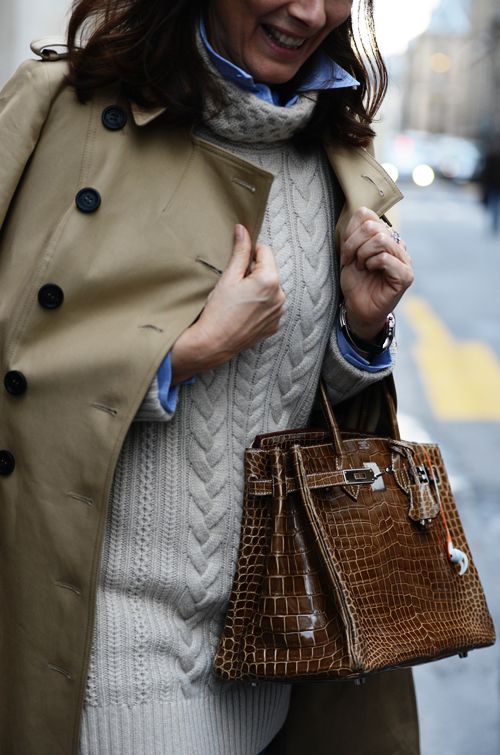
STEP 3: Add a Blazer, Jacket or Coat
Now that you're bundled up in a neutral base layer and complimentary middle layer, you can add your top layer. Unlike the first two, this layer will likely be removed if you become too warm, come in from the cold for an extended period of time, or the weather just improves throughout the day (as it tends to do during the fall transition).
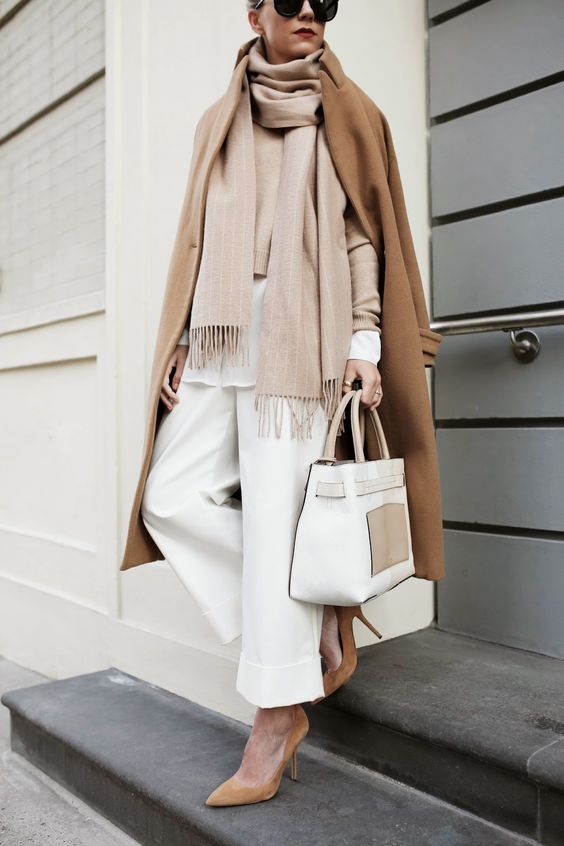
My favorite pieces for this step are a great blazer (navy, herringbone and tweed are my faves for fall), my waterproof Barbour jacket for those overcast afternoons and even my camel coat as fall begins to drift into winter.
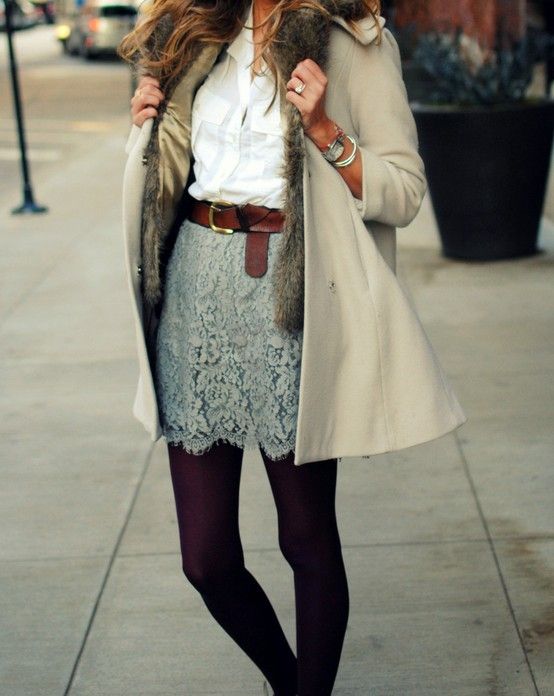
STEP 4: Add Accessories
If you've reached this step it means you have achieved a combination of separates that create a seamless layered look. While you could easily stop here, I like to take things one step further and add some finishing touches like scarves, belts, fedoras and gloves.
As with any look, accessories add that little extra something to your outfit that takes it from basic to fabulous so have fun here. Plus, carefully chosen accessories can make a simple white shirt look completely different each time you wear it - and that is the real trick to doing more with less.
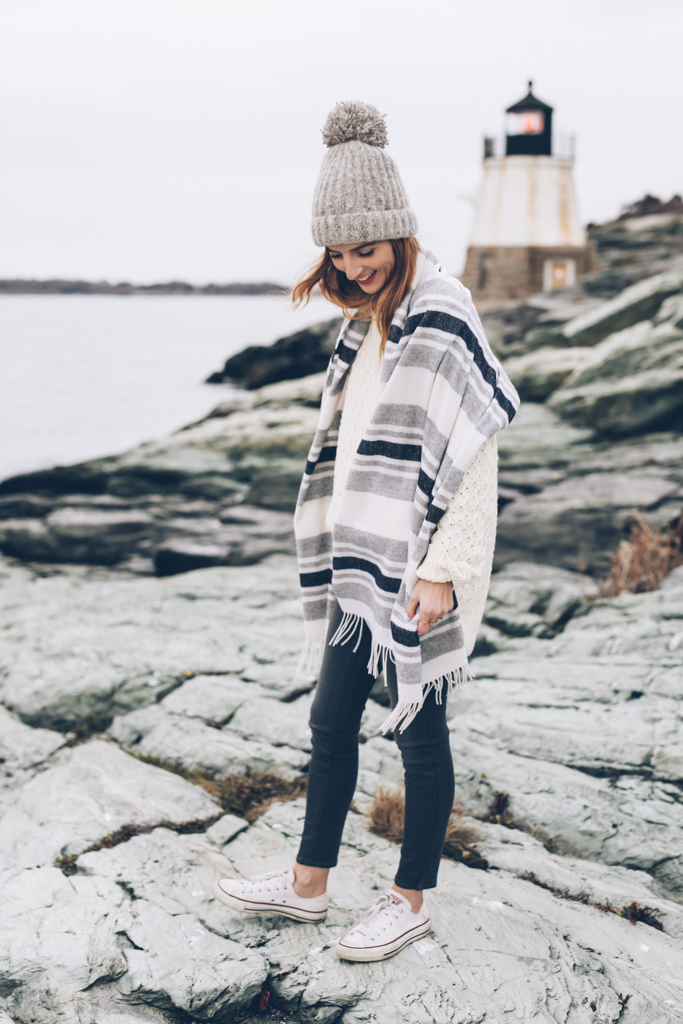
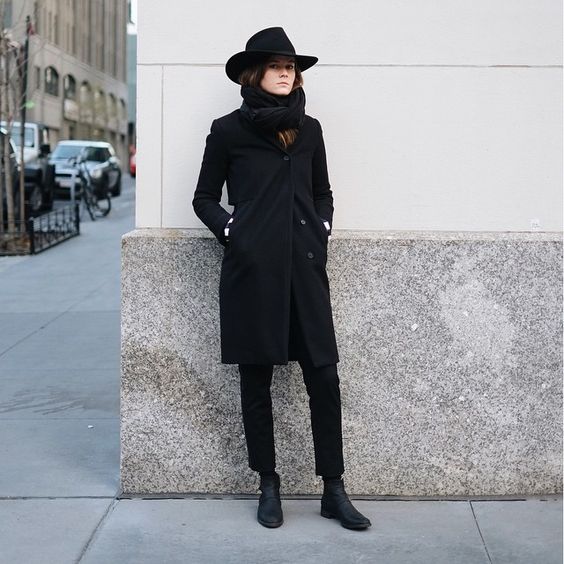
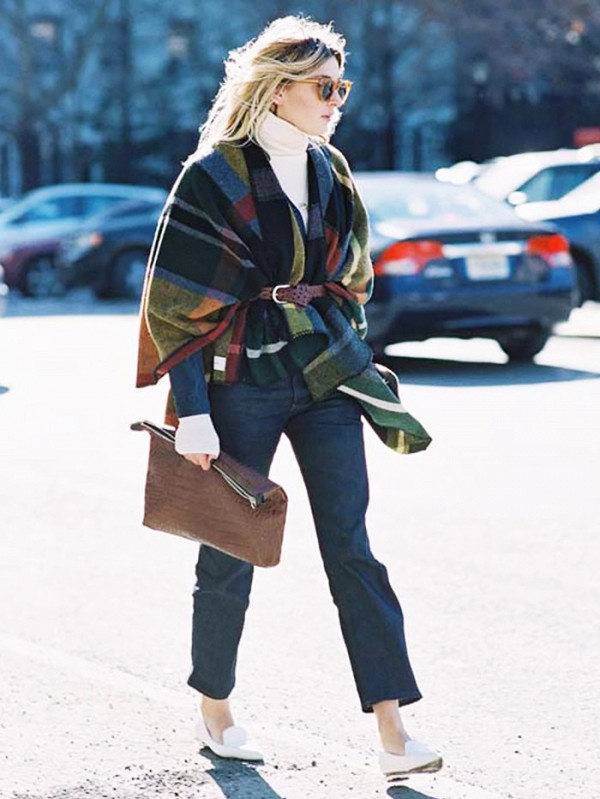
- Layering Inspiration -